bernhard hartmann
Lago Illuminata
Popular searches
Help
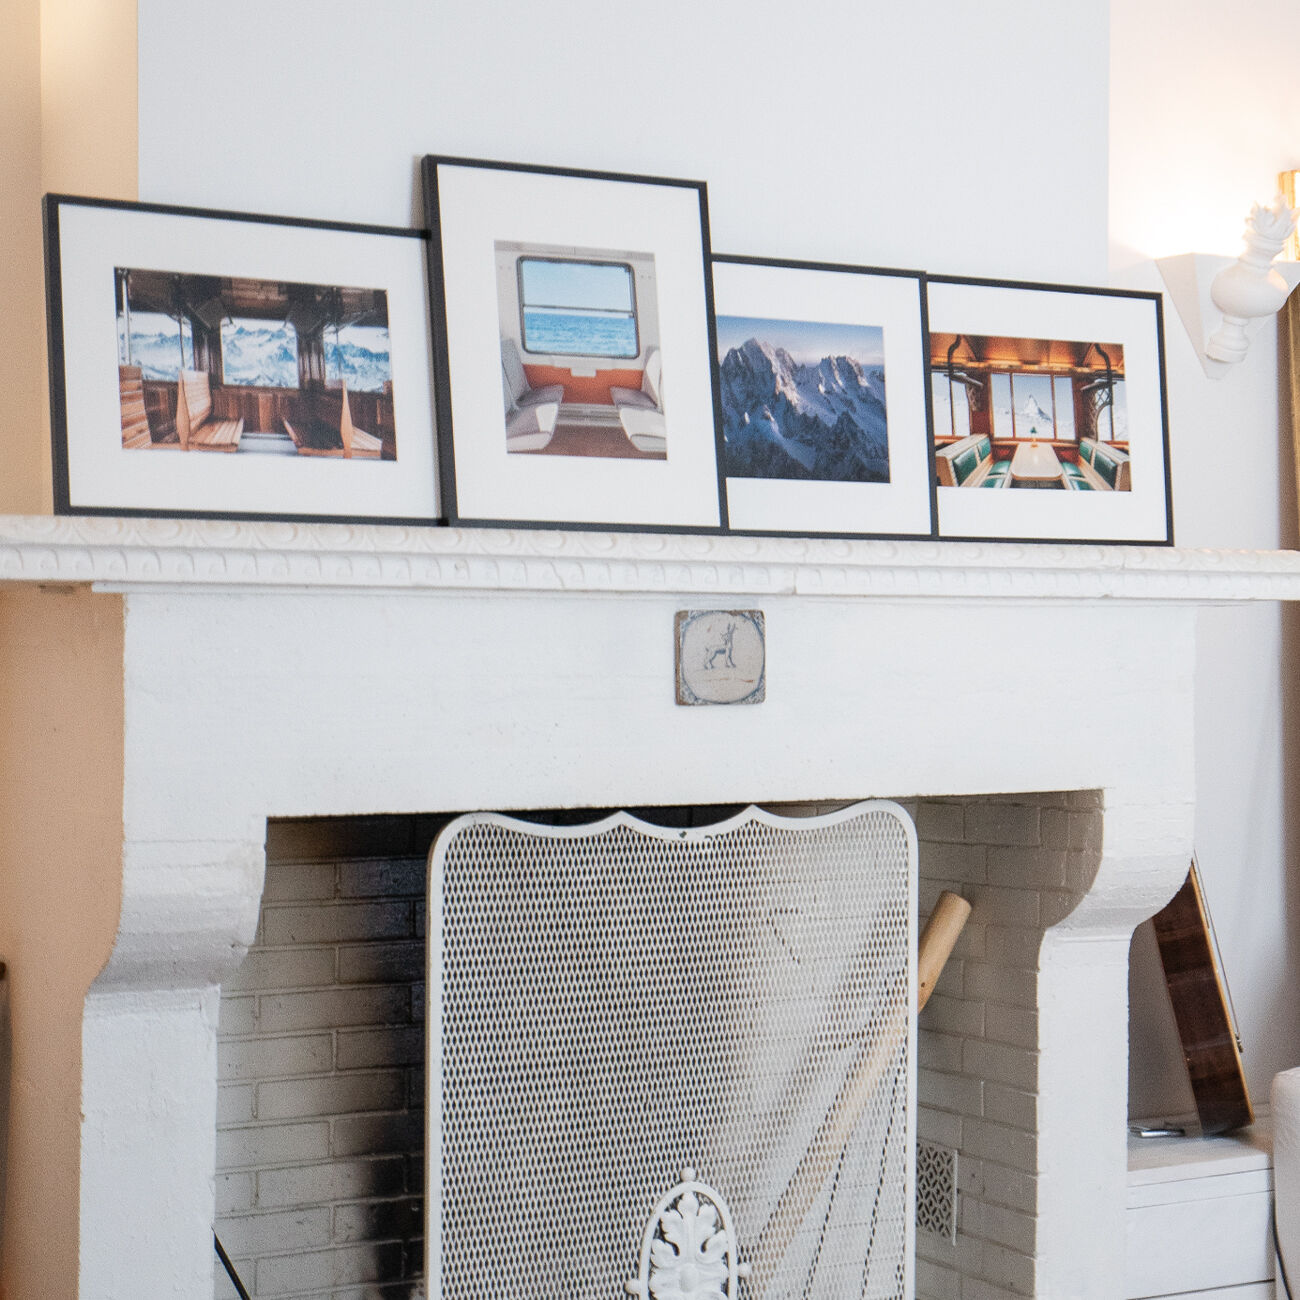
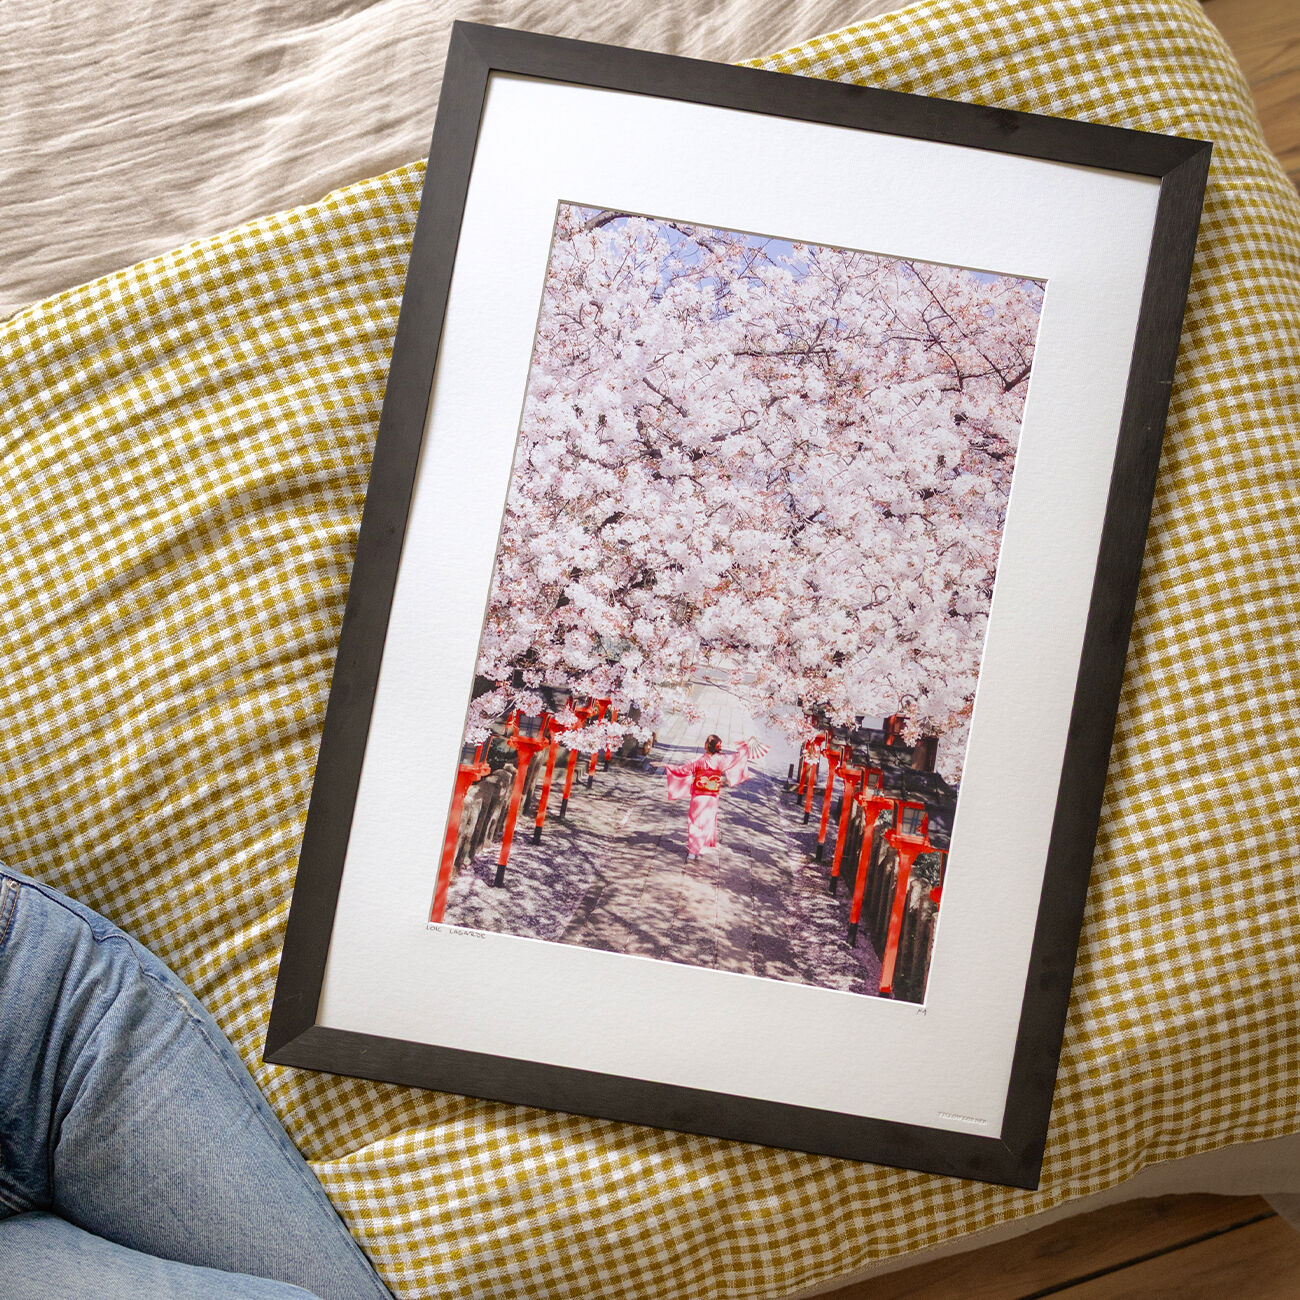
New Releases View All
Landscape photography relies on a balanced exposure between the dark and light areas of the image. To achieve this balance, it is essential to understand the basics of exposure in photography.
The exposure triangle, consisting of aperture, shutter speed, and ISO, allows you to adjust the light captured by the camera. These three settings interact to produce a well-exposed image, avoiding both overexposure and underexposure.
A large depth of field is often sought in landscape photography so that the entire scene, from the foreground to the background, remains sharp. This is achieved by narrowing the aperture (f/8 to f/16) and choosing the right focal length.
White balance determines how colors are perceived based on the ambient light. Outdoors, a "Daylight" setting is often suitable, but feel free to adjust it to faithfully capture the mood of a sunset or a snowy landscape.
In aperture priority mode, you choose the aperture and the camera automatically adjusts the shutter speed. This allows you to control the depth of field and overall sharpness. It is the ideal mode for landscapes.
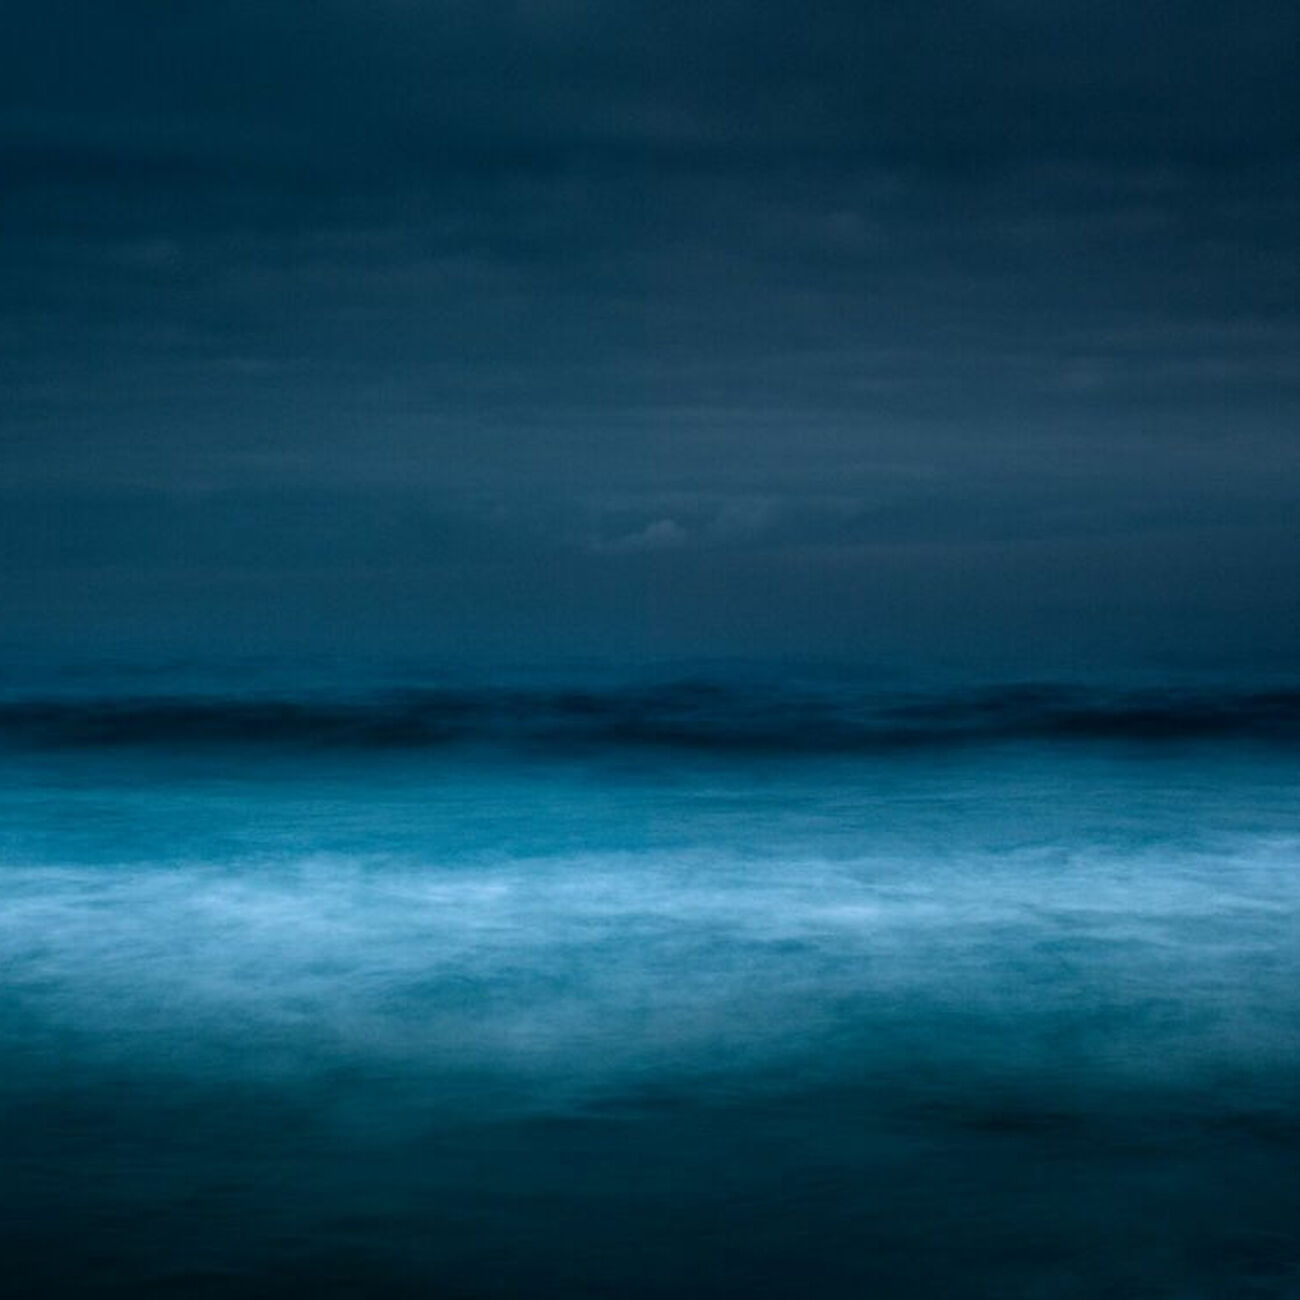
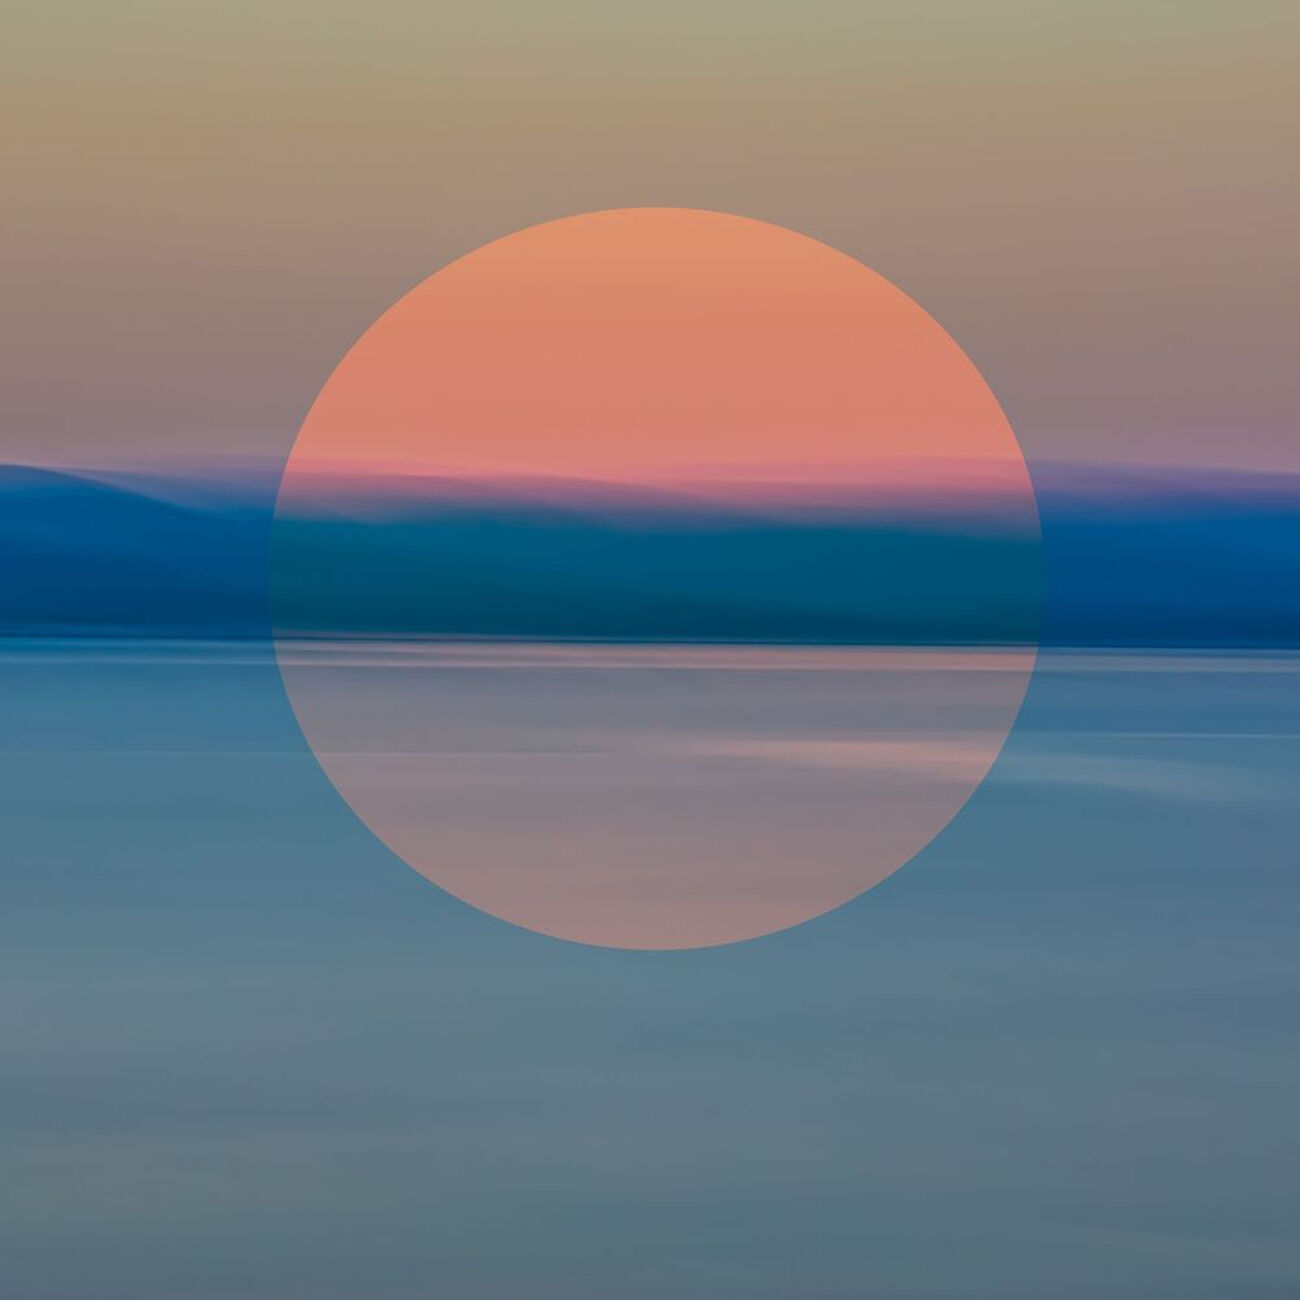
A fast shutter speed freezes motion, ideal for capturing dynamic scenes. On the other hand, a slow shutter speed allows you to create artistic blur effects, especially on water, clouds, or moving elements.
To succeed in your long exposures, consider using a tripod to stabilize your camera. And to explore the fascinating world of night shots, check out our night landscape photo collection.
Keep the ISO as low as possible (100-200) to avoid digital noise. In low light, increase it slightly, but compensate with a tripod or a larger aperture to maintain image quality.
A great landscape photo starts with a well-prepared travel experience. To extend the inspiration, also explore our art landscape gallery.
In manual mode, you can fine-tune the focus on a specific area of the image, often at 1/3 of the frame to maximize sharpness. Combine this with the hyperfocal distance for perfect sharpness from the foreground to the background.
Auto modes are convenient, but be careful not to let the camera focus on the wrong subject. Use a single AF point to maintain control. To optimize sharpness, also use a tripod, trigger with a timer or remote control, and activate the "mirror lock-up" function if your camera has it. These simple techniques help eliminate vibrations and achieve a perfectly sharp image.
Use a tripod, trigger with a timer or remote control, and activate the "mirror lock-up" function if available. These simple techniques eliminate vibrations and ensure a sharp image.
Use a tripod, trigger with a timer or remote control, and activate the "mirror lock-up" function if available. These simple techniques eliminate vibrations and ensure a sharp image.
A polarizing filter reduces reflections, intensifies colors, and makes the sky more contrasted. It is an essential accessory for landscape photography.
Graduated filters balance the exposure between a very bright sky and a darker foreground. This prevents overexposed or underexposed areas in your images.
A ND filter allows you to slow down the shutter speed during the day, perfect for creating motion blur effects on water, clouds, or crowds. For serene and minimalist seascapes, explore our beach photo collection.
In editing software like Lightroom, adjust the exposure, contrast, saturation, and white balance. Don't over-edit: the goal is to enhance, not distort.
HDR involves combining several shots with different exposures to preserve details in both highlights and shadows. Perfect for highly contrasted landscapes.
Combine several images to create a spectacular panorama. Use a tripod, keep the same settings, and slightly overlap each shot. For lovers of wild nature, explore our natural landscapes gallery.
At your service
By e-mail from Monday to Friday from 9 am to 7 pm
Contact us
Exchanges and returns
Exchanges & returns for 15 days
Our guarantees
Free delivery to gallery
Free gallery delivery in a secure package
Delivery
Secure payment
Payment on our website is fully secure, thanks to encryption of your bank details